
Imagine this: a golden, flaky pie crust, its enticing aroma wafting through your kitchen, beckoning friends and family alike to gather around the table. Grandma’s Pie Crust is a magical concoction that takes the simplest of ingredients and transforms them into a comforting embrace of warmth and nostalgia. It graces every gathering, from cozy family dinners to holiday feasts, promising to elevate any pie to celestial heights.
The best part? This pie crust doesn’t just taste good; it’s a celebration of cherished memories. Who hasn’t had the joy of rolling out dough at the kitchen counter, flour dancing in the air as laughter echoes off the walls? Whether you’re whipping up a classic apple pie or a decadent pecan tart, Grandma’s Pie Crust is the secret ingredient to unforgettable moments and delicious desserts.
Why You'll Love This Grandma's Pie Crust
- This incredible Grandma’s Pie Crust transforms simple everyday ingredients into restaurant-quality flavors that will blow your mind completely.
- Foolproof recipe techniques guarantee perfect results every single time, making even novice cooks feel like professional chefs instantly.
- Stunning visual appeal with gorgeous colors and mouthwatering aromas creates the ultimate Instagram-worthy dish for any special occasion.
- Endlessly adaptable for different dietary needs while working beautifully for meal prep, date nights, or entertaining large groups effortlessly.
Ingredients for Grandma’s Pie Crust
Here’s what you’ll need to make this delicious Grandma’s Pie Crust:
1 1/4 cups all-purpose flour – The backbone of your crust, providing that signature texture. For a lighter option, consider substituting with whole wheat flour.
1/2 cup cold unsalted butter – Essential for flakiness. Make sure it’s cold; it helps create those lovely layers.
1/4 teaspoon salt – A pinch of salt enhances the flavor and balances sweetness, bringing out the best in your pie crust.
3 to 5 tablespoons ice water – This helps bind everything together. The colder, the better!
1 tablespoon sugar (optional, for sweet pies) – Adds a touch of sweetness if you’re planning on making a dessert pie.
How to Make Grandma’s Pie Crust
Follow these simple steps to prepare this delicious Grandma’s Pie Crust:
Step 1: Chill the Butter
Start by cubing the cold unsalted butter and placing it in the refrigerator. This step is crucial as the cold butter will help you achieve that desired flaky texture in your pie crust.
Step 2: Prepare the Ice Water
While the butter chills, fill a bowl with ice and water. You’ll add this ice-cold water later to bring your dough together, ensuring it stays nice and crisp.
Step 3: Combine the Dry Ingredients
In a large mixing bowl, whisk together the all-purpose flour and salt until well combined. This simple step ensures that your crust has a balanced flavor throughout.
Step 4: Cut in the Butter
Using a pastry cutter or your fingers, cut the cold butter into the flour mixture until it resembles coarse crumbs. Don’t overdo it; you want to see pea-sized butter pieces for the perfect flake!
Step 5: Add the Ice Water
Slowly add the ice water one tablespoon at a time, mixing gently with a fork until the dough just begins to come together. Remember, less is more – you want a crumbly texture without the dough getting too wet.
Step 6: Chill the Dough
Form the dough into a ball, then divide it into two equal discs. Wrap each one in plastic wrap and let them chill in the fridge for at least one hour. This step is key – it relaxes the gluten in the dough and makes it easier to roll out.
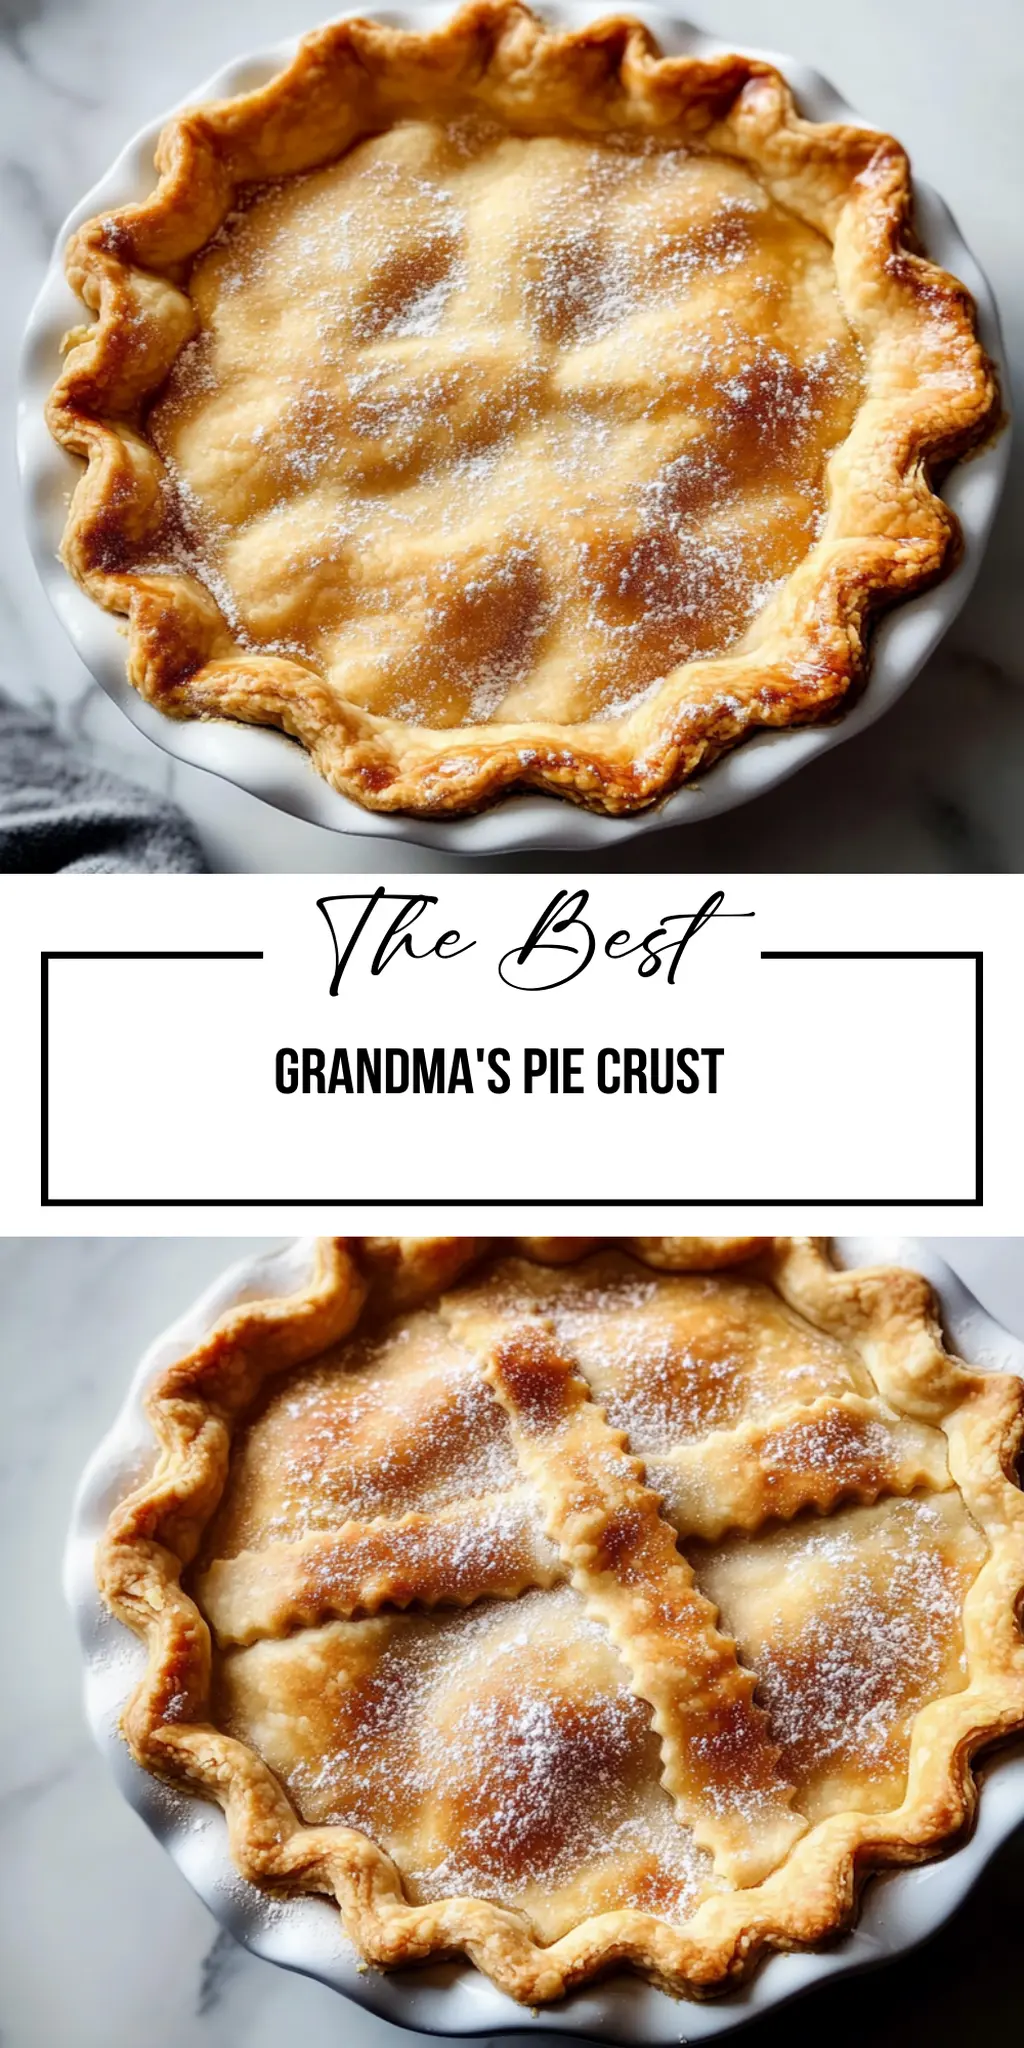
Once your dough has chilled, it’s time to roll it out. Dust your countertop with flour and gently roll each disc into a circle, about 12 inches in diameter, perfect for your pie dish. Now your Grandma’s Pie Crust is ready to be baked with your favorite filling or frozen for future use. Just imagine that first bite as the fork cuts through the golden crust to reveal the delicious filling inside – pure bliss!
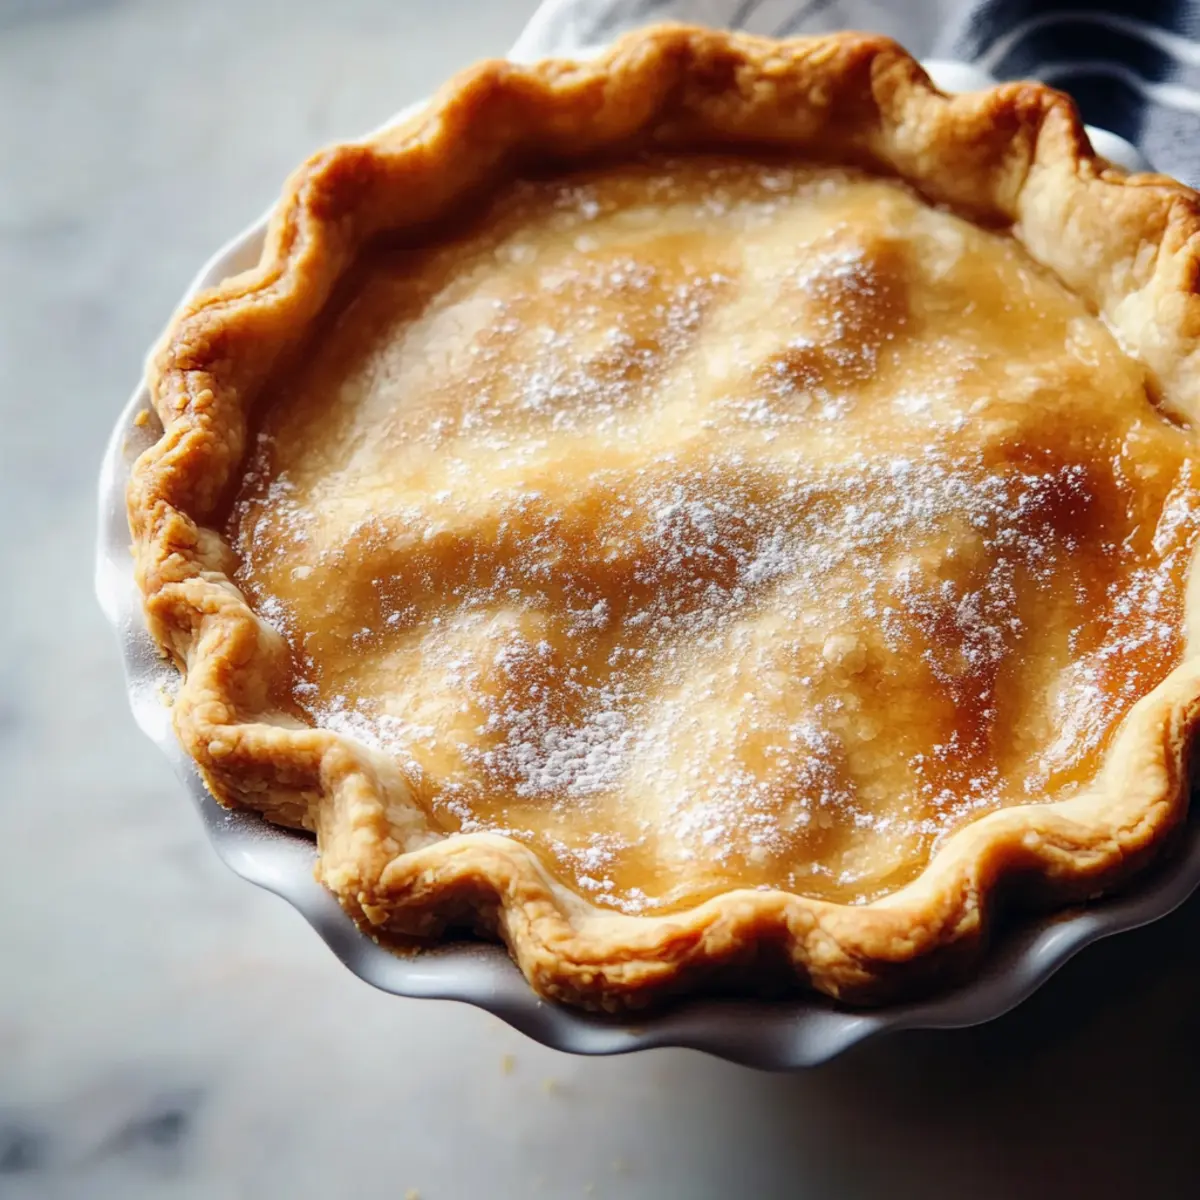
Serve your pie warm with a scoop of vanilla ice cream or simply dust it with powdered sugar for a delightful treat. Enjoy every moment, from the first slice to the last crumb, knowing that this classic recipe carries the warmth of home and the love of Grandma.

Perfect Results, Every Single Time! 🌡️
Never serve dry or undercooked food again. The Chef-X Digital Probe gives you an accurate temperature reading in under 3 seconds. It's the secret tool I use for perfect steaks, juicy chicken, and safe milk temperatures.
You Must Know About Grandma's Pie Crust
- This showstopping Grandma’s Pie Crust delivers restaurant-quality results using simple ingredients you probably already have at home.
- The perfect balance of textures and flavors creates an unforgettable dining experience that will have everyone asking for seconds.
- Picture-perfect presentation with vibrant colors makes this dish absolutely Instagram-worthy and guaranteed to impress any dinner guest.
- Incredibly versatile recipe that works beautifully for weeknight dinners, meal prep, special occasions, or even outdoor entertaining sessions.
Perfecting Grandma’s Pie Crust Cooking Process
Start by chilling your butter and preparing ice water. Then whisk together flour and salt before cutting in the butter. Add ice water gradually and form the dough, chilling it before rolling it out. This order ensures perfect texture and flavor.
Add Your Touch to Grandma’s Pie Crust
Feel free to swap out all-purpose flour for whole wheat for a nuttier flavor, or add cinnamon for sweet pies. You can also experiment with flavored butters like garlic or herb-infused for savory dishes to elevate your crust game.
Storing & Reheating Grandma’s Pie Crust
Wrap any leftover crust in plastic wrap and keep it in the fridge for up to three days. To reheat, place the crust in a preheated oven at 350°F for about 10 minutes to regain its flaky texture and warmth.
Chef's Helpful Tips for Grandma's Pie Crust
- This professional-quality Grandma’s Pie Crust relies on precise timing and temperature control to achieve restaurant-standard results consistently.
- Master the art of mise en place by prepping all ingredients beforehand, ensuring smooth execution and preventing any last-minute cooking disasters.
- The secret lies in layering flavors throughout the cooking process rather than seasoning only at the end for maximum depth.
- Pro tip: let the finished dish rest for optimal texture and flavor development before serving to hungry guests waiting eagerly.
It was a rainy Saturday when I made this pie crust for the first time. My family gobbled it up, and my cousin joked that I might just be their new go-to pie guru!
FAQs About Grandma’s Pie Crust
What is Grandma’s Pie Crust?
Grandma’s Pie Crust is a classic recipe passed down through generations, known for its flaky and buttery texture. This delicious crust forms the base of countless sweet and savory pies. With simple ingredients like all-purpose flour, cold butter, salt, and a touch of ice water, it brings warmth and nostalgia to any dessert table. This crust is versatile enough to hold fruit fillings, custards, or even savory mixtures. It’s all about creating that perfect balance between texture and flavor, ensuring every bite is pure bliss.
Can I make Grandma’s Pie Crust in advance?
Absolutely! Grandma’s Pie Crust can be prepared ahead of time, making it perfect for busy bakers. Once you’ve rolled out the crust, wrap it tightly in plastic wrap and store it in the refrigerator for up to three days. Alternatively, you can freeze it for up to three months. Just thaw it overnight in the fridge before using. This way, you’ll have a homemade crust ready to go whenever you feel the urge to whip up a pie!
What types of pies work well with Grandma’s Pie Crust?
Grandma’s Pie Crust is incredibly versatile, making it suitable for various types of pies. It pairs perfectly with fruit pies like apple, cherry, or blueberry, as well as rich custard pies such as pumpkin or pecan. If you’re craving something savory, this crust is great for quiches, pot pies, or even a classic chicken and vegetable dish. Its adaptability allows you to get creative and experiment with fillings that reflect your tastes and the seasons.
Can I customize Grandma’s Pie Crust for dietary restrictions?
Yes, you can easily customize Grandma’s Pie Crust to accommodate dietary preferences. For a gluten-free version, simply substitute all-purpose flour with a gluten-free flour blend. If you’re looking for a dairy-free option, you can use coconut oil or a dairy-free butter alternative instead of unsalted butter. You can also explore using whole wheat flour for a nuttier flavor or adding spices for an added kick. These adjustments will still produce a delicious and flaky crust.
Conclusion for Grandma’s Pie Crust
In conclusion, mastering Grandma’s Pie Crust is a cherished culinary skill that brings joy and flavor to any gathering. This recipe showcases simple ingredients and techniques to create a flaky, buttery crust that will elevate your sweet and savory pies. Whether you choose to make it ahead of time or customize it for dietary needs, Grandma’s Pie Crust offers endless possibilities. Embrace this classic recipe and share the love of homemade baking with family and friends!
Grandma's Pie Crust
Ingredients
Equipment
Method
- Chill the butter and prepare a bowl of ice water.
- In a large bowl, whisk together the flour and salt.
- Cut in the cold butter using a pastry cutter or your fingers until the mixture looks like coarse crumbs.
- Add the ice water one tablespoon at a time, mixing until the dough just begins to come together.
- Form the dough into a ball, divide into two discs, wrap, and chill for at least an hour.
- Roll out the dough on a floured surface and transfer to your pie dish.
- Bake according to your specific pie recipe.


Leave a Comment