
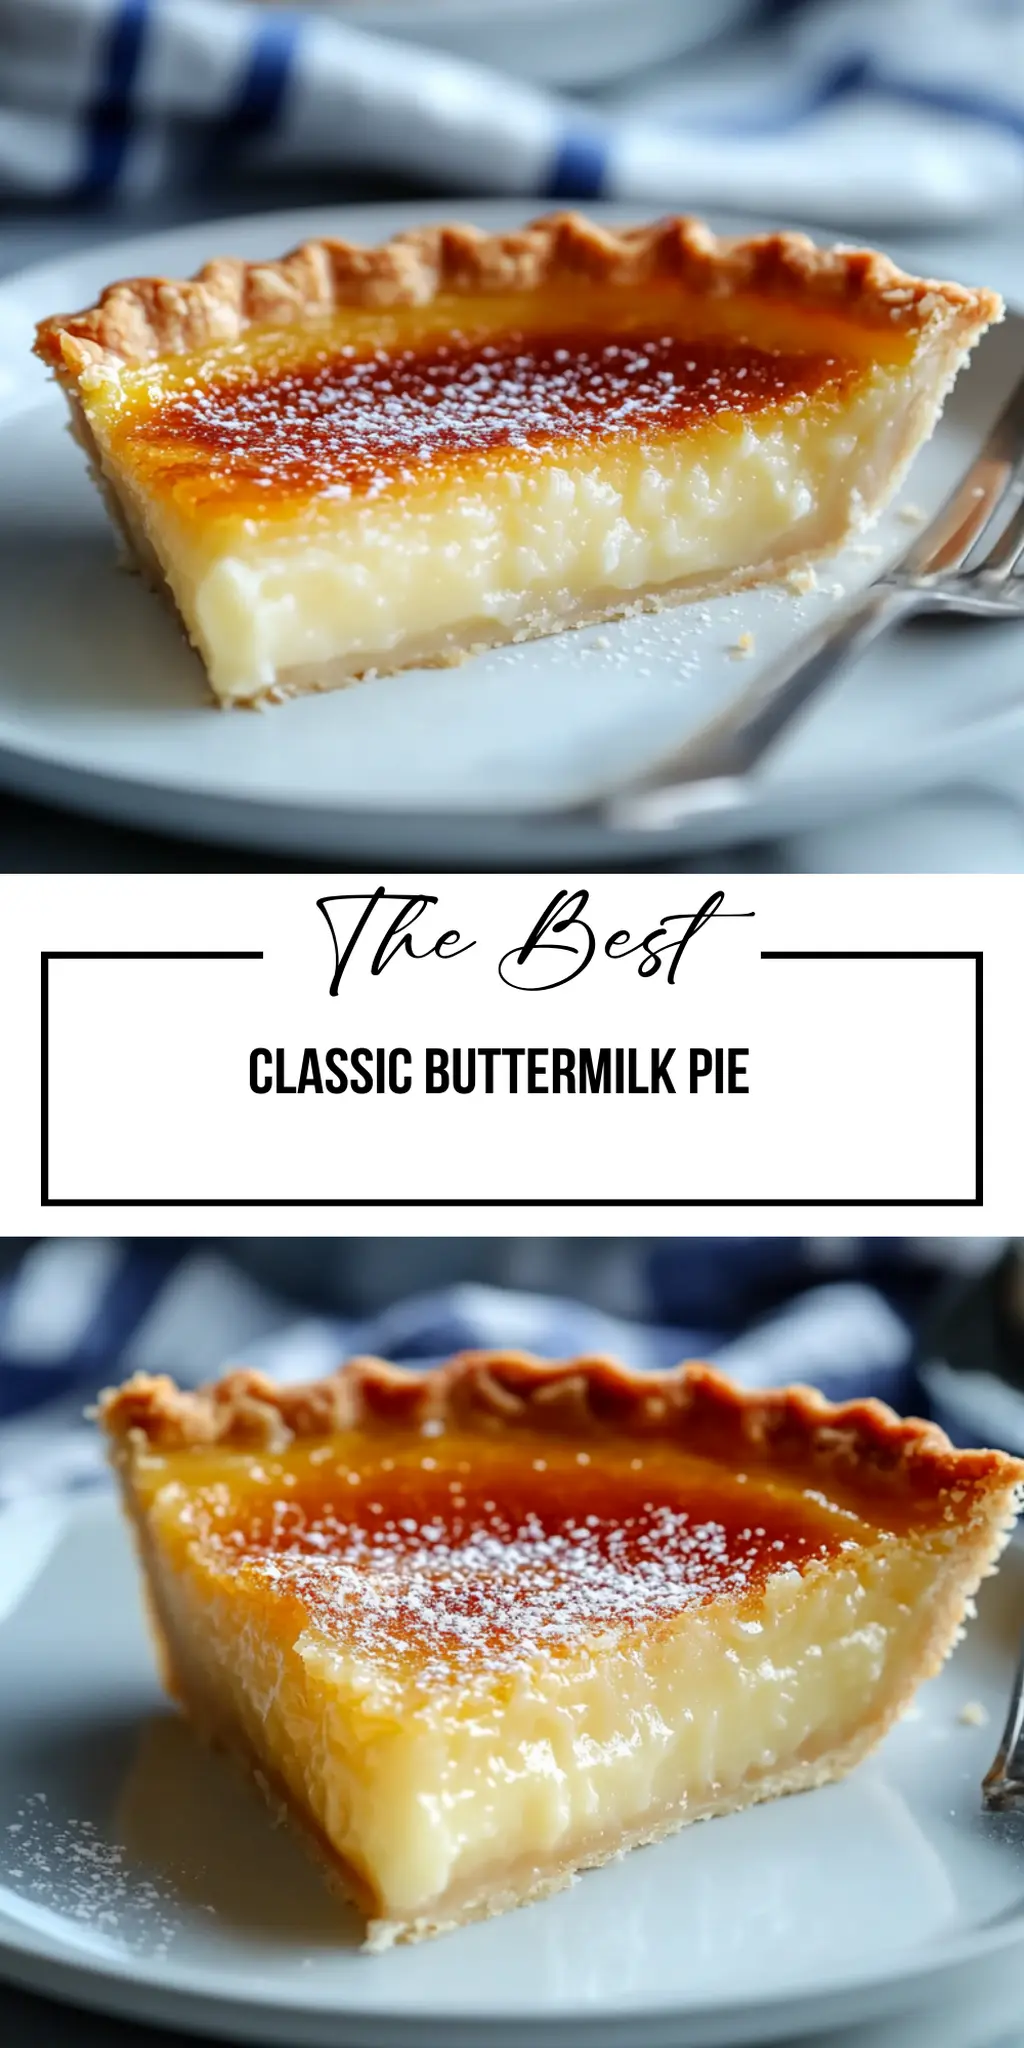
Classic Buttermilk Pie beckons with its sweet and tangy aroma, tempting you to indulge in a slice of nostalgia with every bite. Imagine sliding into a cozy chair, fork in hand, ready to savor a dessert that dances between creamy richness and a tantalizing hint of zest. It’s the kind of pie that transports you back to sunny afternoons on Grandma’s porch, where laughter flowed as easily as the lemonade.
For me, nothing beats the memory of family gatherings enriched with the love and warmth of homemade treats. That perfect Classic Buttermilk Pie wasn’t just a dessert; it was the centerpiece of cherished moments, bringing joy and sweetness to every occasion. Whether you serve it at a holiday feast or enjoy a slice on a lazy Sunday, it promises to elevate any gathering with its simple elegance.
Why You'll Love This Classic Buttermilk Pie
- This incredible Classic Buttermilk Pie transforms simple everyday ingredients into restaurant-quality flavors that will blow your mind completely.
- Foolproof recipe techniques guarantee perfect results every single time, making even novice cooks feel like professional chefs instantly.
- Stunning visual appeal with gorgeous colors and mouthwatering aromas creates the ultimate Instagram-worthy dish for any special occasion.
- Endlessly adaptable for different dietary needs while working beautifully for meal prep, date nights, or entertaining large groups effortlessly.
Ingredients for Classic Buttermilk Pie
Here’s what you’ll need to make this delicious Classic Buttermilk Pie:
1 1/2 cups granulated sugar – Provides sweetness that beautifully balances the tang of buttermilk, creating a delightful flavor profile.
3 tablespoons all-purpose flour – Acts as a thickening agent, ensuring your filling sets perfectly for a creamy texture.
3 large eggs – Essential for binding the ingredients, giving the pie its rich and velvety texture.
1 cup buttermilk – The star ingredient, it adds that signature tanginess and creaminess that make this pie unique.
1/2 cup unsalted butter, melted – Provides richness and depth of flavor, making every bite decadently buttery.
1 teaspoon vanilla extract – Enhances sweetness and adds a warm, inviting aroma that dreams are made of.
1 teaspoon lemon zest (optional) – A bright touch that elevates the pie’s flavor, giving it a refreshing twist.
1 9-inch unbaked pie crust – The essential base that cradles the creamy filling; you can use store-bought or homemade.
How to Make Classic Buttermilk Pie
Follow these simple steps to prepare this delicious Classic Buttermilk Pie:
Step 1: Preheat the Oven
Preheat your oven to 350°F (175°C). Giving a gentle nod to high temperatures ensures that your pie crust will bake perfectly golden and flaky.
Step 2: Prepare the Pie Crust
Place your unbaked pie crust into a 9-inch pie dish and set it aside like a loyal sidekick waiting for its moment to shine.
Step 3: Mix the Base
In a large bowl, whisk together the granulated sugar and flour until well combined, resembling a fine sandy beach. It’s okay to daydream about that beach while mixing!
Step 4: Incorporate the Eggs
Add the eggs, one at a time, whisking vigorously after each addition. Just imagine you’re training for the pie Olympics—every whisk counts!
Step 5: Blend in the Good Stuff
Pour in the buttermilk, melted butter, and vanilla (and lemon zest if you dare!) into the egg mixture. Mix until it all comes together smoothly, like your favorite playlist on a road trip.
Step 6: Bake to Perfection
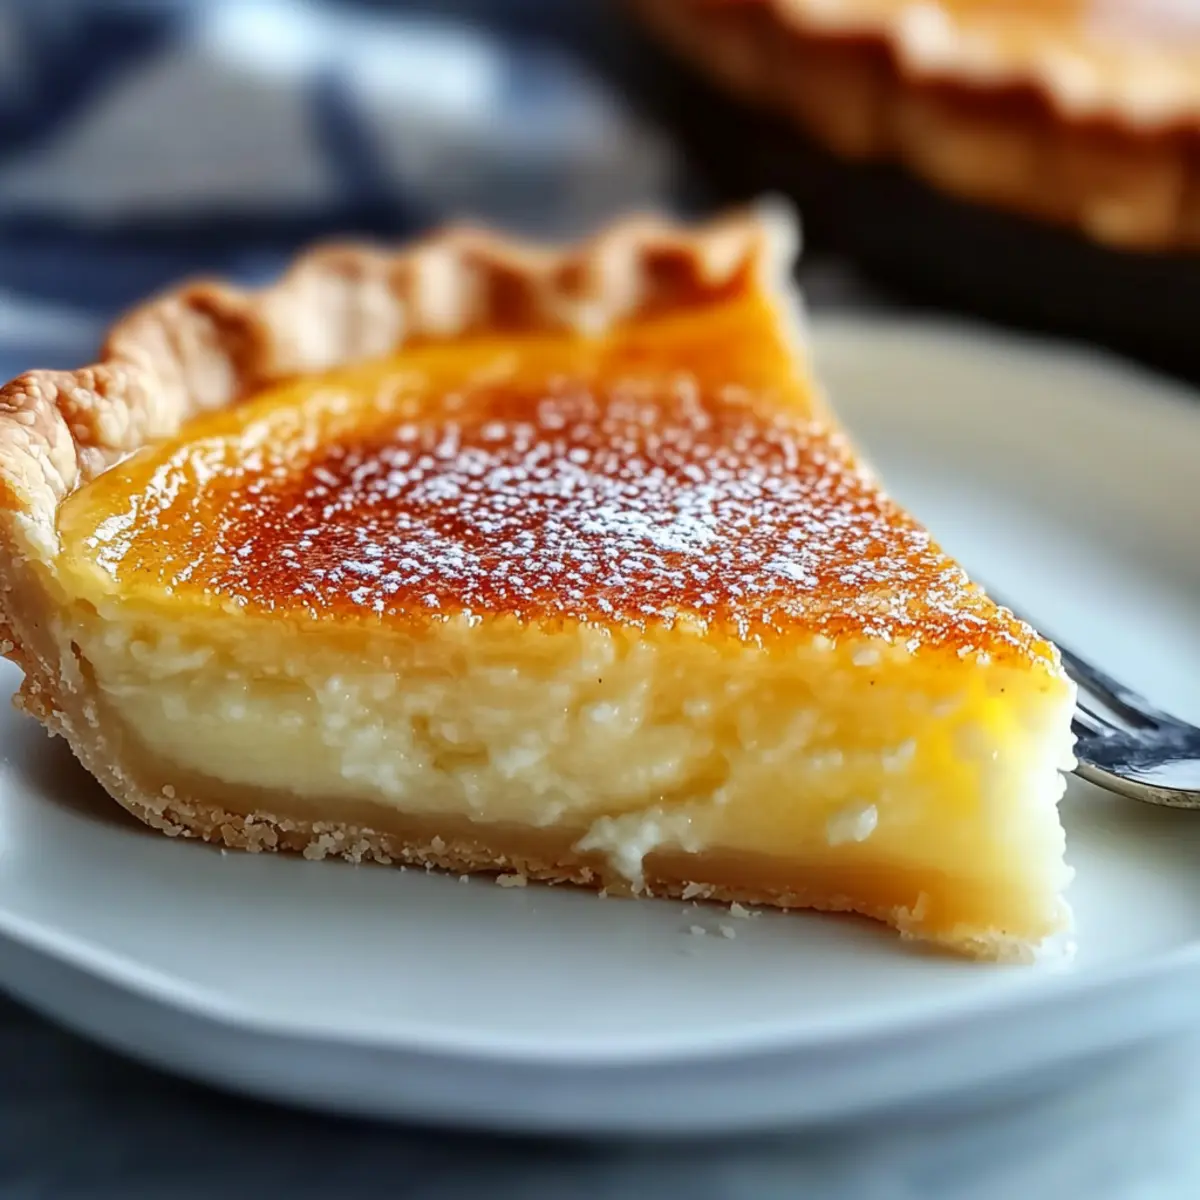
Pour the mixture into your prepared pie crust and bake it in the oven for 45 to 55 minutes, or until the top is beautifully golden and the center is just set. The sweet aromas wafting through your home? You’re welcome!
Allow the pie to cool completely on a wire rack. Patience is a virtue, especially when it comes to desserts! Once cooled, pop it into the refrigerator for at least two hours before slicing. This chilling period is essential for the filling to set perfectly, ensuring every slice is a triumph.
Serve your Classic Buttermilk Pie chilled, garnished with fresh whipped cream or berries, and get ready for rave reviews. Each bite will leave you and your guests in a state of delicious disbelief, transforming them into lifelong fans of this charming dessert.
There you have it—a delightful journey through the process of creating a classic dessert that brings smiles and satisfied sighs. This Classic Buttermilk Pie is not just a recipe; it’s an experience!

Perfect Results, Every Single Time! 🌡️
Never serve dry or undercooked food again. The Chef-X Digital Probe gives you an accurate temperature reading in under 3 seconds. It's the secret tool I use for perfect steaks, juicy chicken, and safe milk temperatures.
This showstopping Classic Buttermilk Pie delivers restaurant-quality results using simple ingredients you probably already have at home. The perfect balance of textures and flavors creates an unforgettable dining experience that will have everyone asking for seconds. Picture-perfect presentation with vibrant colors makes this dish absolutely Instagram-worthy and guaranteed to impress any dinner guest. Incredibly versatile recipe that works beautifully for weeknight dinners, meal prep, special occasions, or even outdoor entertaining sessions.
Perfecting Classic Buttermilk Pie Cooking Process
To achieve the best results with your Classic Buttermilk Pie, start by preheating your oven. First, focus on whisking your dry ingredients together before gradually adding the eggs and wet ingredients for an even mix. Pour the filling into the crust and bake until golden.
Add Your Touch to Classic Buttermilk Pie
Feel free to experiment with your Classic Buttermilk Pie by adding spices like nutmeg or a pinch of cinnamon for warmth. You can also swap the vanilla for almond extract or toss in fresh berries for a delightful twist.
Storing & Reheating Classic Buttermilk Pie
Store any leftover Classic Buttermilk Pie covered in the refrigerator for up to four days. To reheat, simply place individual slices in the microwave for 15-20 seconds, ensuring each piece retains its creamy goodness.
Chef's Helpful Tips for Classic Buttermilk Pie
- This professional-quality Classic Buttermilk Pie relies on precise timing and temperature control to achieve restaurant-standard results consistently.
- Master the art of mise en place by prepping all ingredients beforehand, ensuring smooth execution and preventing any last-minute cooking disasters.
- The secret lies in layering flavors throughout the cooking process rather than seasoning only at the end for maximum depth.
- Pro tip: let the finished dish rest for optimal texture and flavor development before serving to hungry guests waiting eagerly.
The first time I made Classic Buttermilk Pie, it was a family gathering. My cousin took one bite and declared it the best dessert he’d ever had, which made me beam with pride!
FAQs About Classic Buttermilk Pie
What is Classic Buttermilk Pie?
Classic Buttermilk Pie is a traditional Southern dessert that boasts a creamy, custard-like filling. It is made primarily with simple ingredients such as buttermilk, sugar, eggs, and flour, which come together to create a rich, velvety texture. The pie is typically baked in a flaky pie crust, giving it a delightful contrast between the crunchy exterior and the smooth filling. Often flavored with vanilla and a hint of lemon zest, Classic Buttermilk Pie is a comforting treat that has won the hearts of many, especially during family gatherings or holidays.
How do I make Classic Buttermilk Pie?
To make Classic Buttermilk Pie, begin by preheating your oven and preparing a 9-inch unbaked pie crust. In a large bowl, whisk together granulated sugar and flour, then incorporate eggs one at a time. Gradually mix in buttermilk, melted butter, and vanilla extract for a smooth batter. Pour this mixture into the crust and bake it until golden brown. Allow the pie to cool completely before refrigerating for at least two hours to set. This simple process yields a delicious dessert that will impress your family and friends.
Can I customize Classic Buttermilk Pie?
Absolutely! Classic Buttermilk Pie is incredibly versatile. You can customize it by adding spices like cinnamon or nutmeg for a warm flavor or substituting vanilla extract with almond extract for a nutty twist. For a fruity variation, try incorporating fresh berries or even a drizzle of chocolate. Each of these modifications can enhance the pie’s appeal and introduce unexpected flavors that make your rendition unique. So feel free to experiment and find the combination that delights your taste buds!
How should I store Classic Buttermilk Pie?
To store Classic Buttermilk Pie, cover it with plastic wrap or aluminum foil and refrigerate it. Properly stored, it will remain fresh for up to four days. If you want to keep the pie longer, freezing is an option, but the texture may change slightly upon thawing. When ready to enjoy leftovers, simply reheat individual slices in the microwave for 15-20 seconds. This ensures that each serving retains its creamy deliciousness, allowing you to savor your creation for days to come.
Conclusion for Classic Buttermilk Pie
In summary, Classic Buttermilk Pie is a simple yet delightful dessert that brings comfort and happiness to any gathering. With its velvety filling and easy-to-follow recipe, anyone can achieve restaurant-quality results. Whether you stick to the classic method or experiment with personal twists, this pie will surely impress. Remember, Classic Buttermilk Pie is not just a dessert; it’s a way to bring people together and create lasting memories. So get baking and enjoy every delicious slice!
Classic Buttermilk Pie
Ingredients
Equipment
Method
- Preheat oven to 350°F (175°C). Place the unbaked pie crust into a 9-inch pie dish and set aside.
- In a large bowl, whisk sugar and flour together until combined.
- Add the eggs one at a time, whisking well after each addition.
- Pour in the buttermilk, melted butter, and vanilla (plus lemon zest if using). Mix until smooth.
- Pour the mixture into the pie crust.
- Bake for 45 to 55 minutes, or until the top is golden and the center is just set.
- Cool completely on a wire rack.
- Refrigerate for at least 2 hours before slicing and serving.


Leave a Comment